Why would you want to host the Anki sync server yourself? That's a valid question as currently the limits of the official AnkiWeb are very generous and unlikely to be reached by almost anyone. So why would you still do it? Maybe simply because you can: We live in a world where most software is closed source and requires a subscription. It is cool to know that Anki isn't and that you can set up your own robust syncing for all your devices. So let's get started!
I will issue this warning though: I will assume you have some familiarity with web hosting and know what Docker is. Hosting anything is very complicated as slight mistakes can lead to all your data being exposed.
What our setup will look like and why we'll be using Tailscale
For this setup to be viable, you'll need a server to host the Anki sync server. If you do not already have one, you'll need to rent one. The cheapest option will be enough and shouldn't cost more than $5 per month (if you need one, a good value is Hetzner). Having this server will ensure that your sync server is always available.
Security is the biggest challenge of hosting yourself. Currently, the best solution I believe is two-fold:
Use Tailscale to have a private VPN to allow you to connect
The advantage of this approach is that nobody can connect to your server because the firewall will block every request. Therefore, the attack surface is a lot smaller; even if you make a mistake in a later stage, you should be safe. But again, security is hard, and you want multiple levels of redundancy, so we'll still do the next steps properly.
Step 1: Setup the firewall
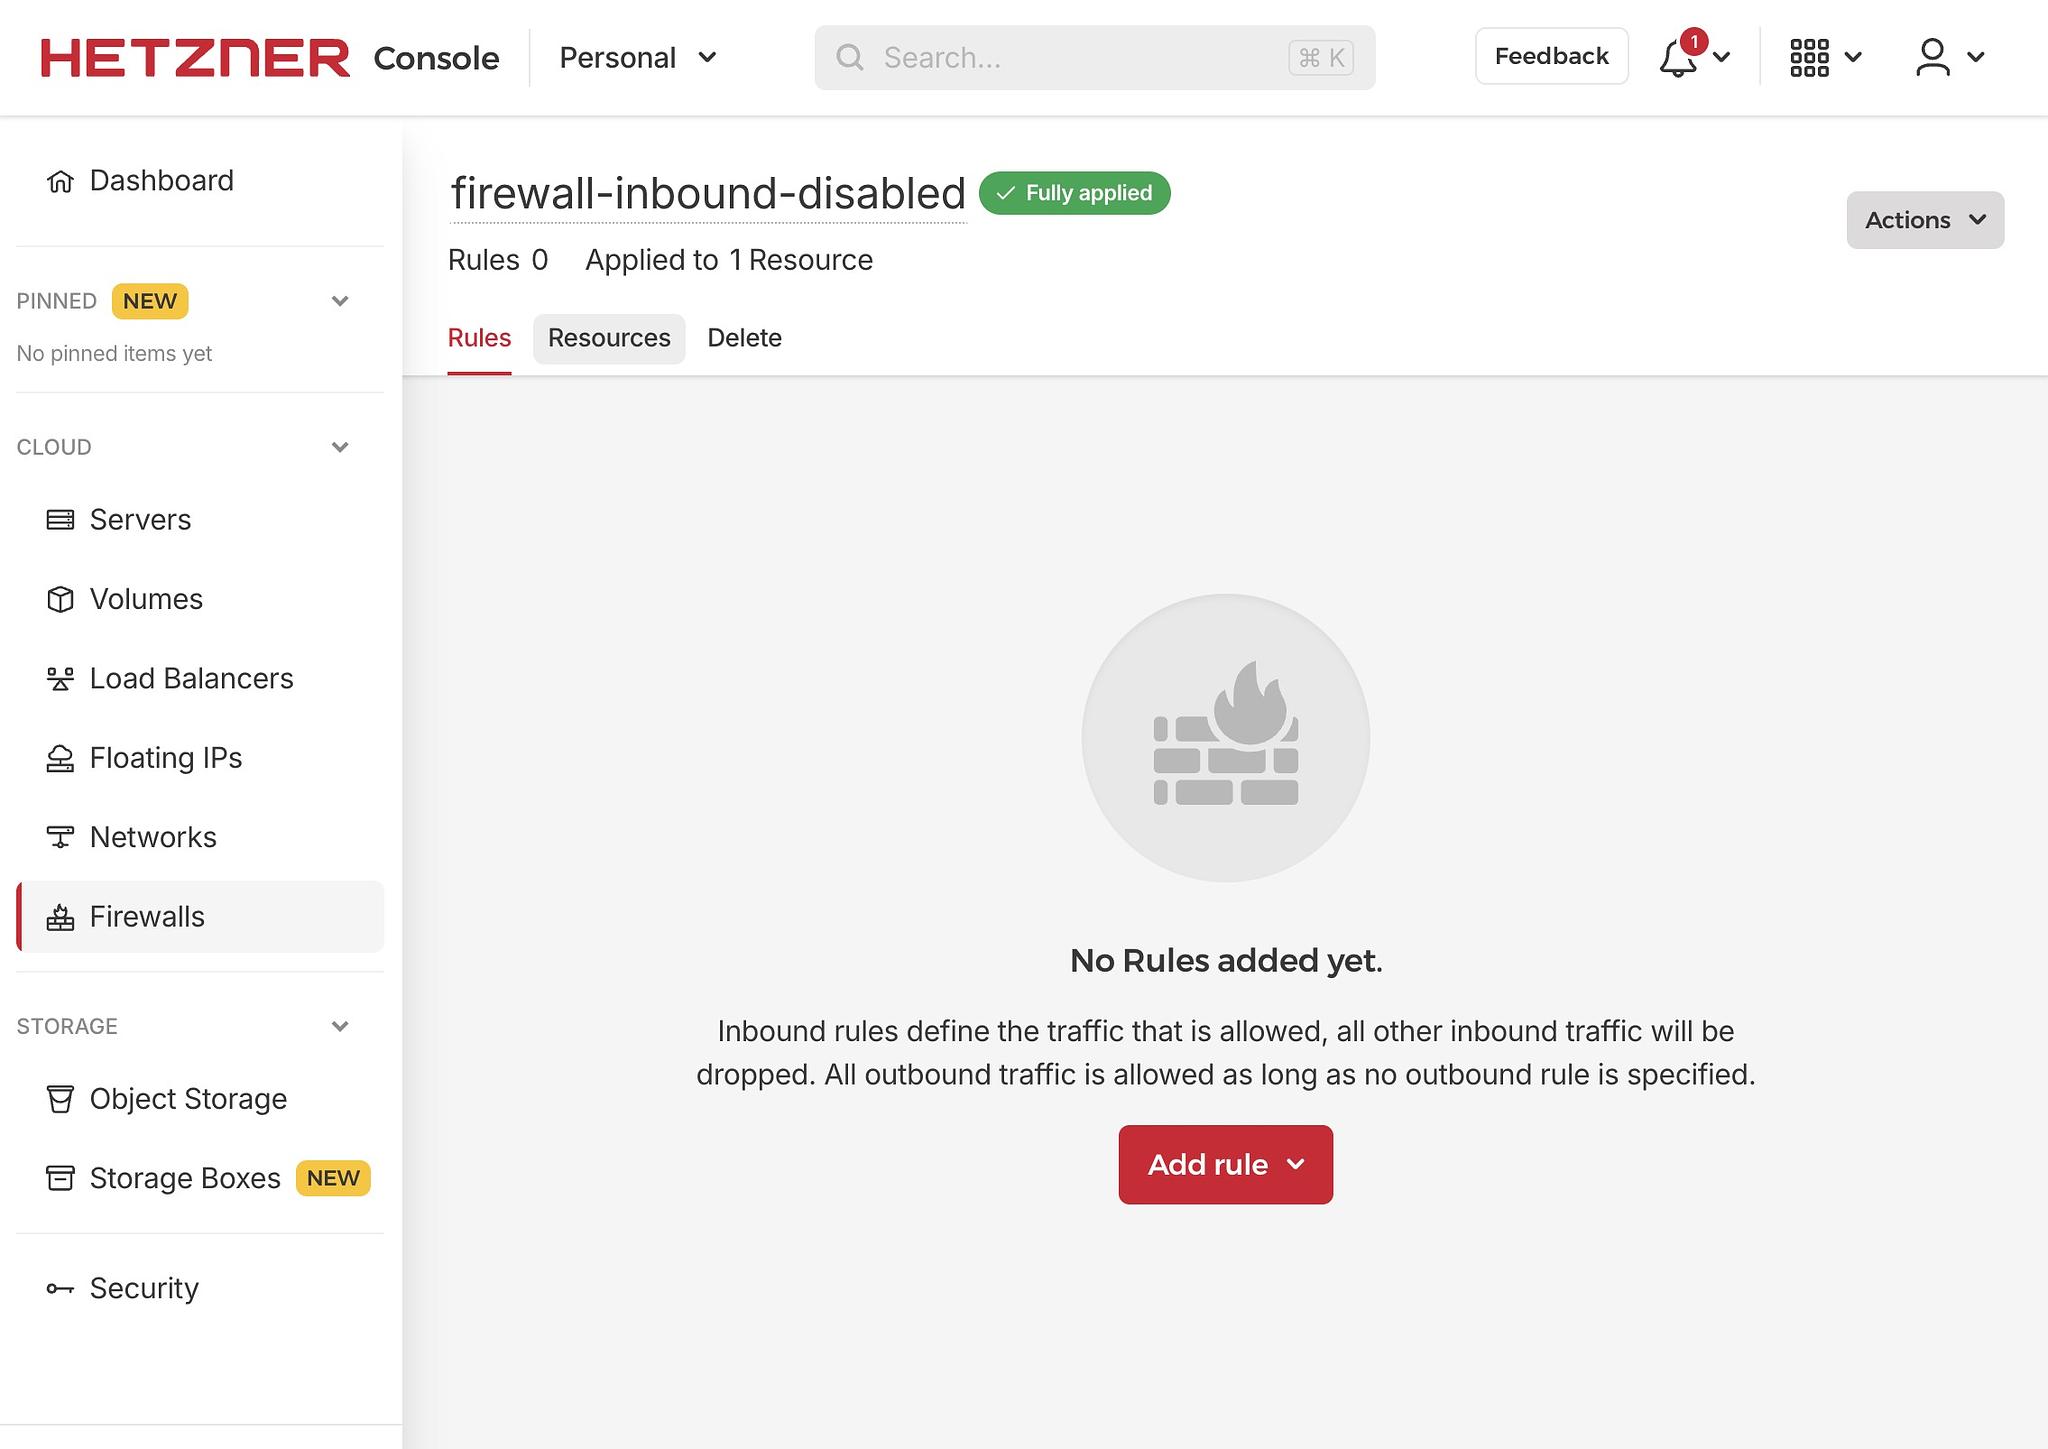
The most important thing first: Go to your hosting provider's firewall configuration and ensure that any inbound traffic is blocked. When done, test it.
Again, this is an essential step. Without this firewall, you have a lot less margin for error and will need to ensure that you apply all security fixes pushed to Anki right away. In practice, this is very difficult to do right for businesses with resources and basically impossible for an individual doing self-hosting. So setup your firewall!
Step 2: Building the Docker image
Launching a Docker image is simple, but Anki doesn't provide an official image for the sync server. So we'll need to set it up ourselves!
If you are going to host it, you'll need to update the image once in a while to track the latest updates to Anki. Therefore, I think it makes sense to have Github's CI (Github Actions) do it for us. This way, at each commit, the image will automatically be built and published. And because all of this is public, it's free!
I've setup a repository that does exactly that. I only added one commit to build and publish the docker image. Anyone can then access the images from the Github registry. This step is so simple, you should do it yourself and not use my own image.
What's cool with this setup is that any commit will trigger a new build and publishing of the docker image. So you'll only have to restart the docker container and you'll be good to go.
GitHub even conveniently displays when your fork is out of date, and it takes a single click to catch up:
Step 3: Starting the Docker Container
Before starting the Docker container, you will need to define 3 parameters:
The port of your sync server: By default, web applications listen on port 80 for HTTP and 443 for HTTPS, but I would recommend using a different port here. It doesn't provide a lot of extra security, but a little obfuscation is never bad. Note also that we won't be using HTTPS. In a perfect world, we would set up the certificate, but it's a bit tricky to obtain due to our strict firewall configuration, and Tailscale already encrypts connections, so that would be redundant.
Your username and password: Nobody will be able to connect to this server except us, but again, let's assume something might go wrong and still use a very strong username and password.
The folder in which you will store your data: By default, Docker doesn't persist anything, so we'll need to tell it to. Usually, you'll want to have some backup mechanism for this data in case something happens to your server. For our purpose, it's not too critical because all your data will be synced at minimum to one of your devices (and if you use a desktop and a phone, that's two backups). In any case, I would suggest at minimum enabling the backup of your cloud instance disk. Usually that's cheap.
Step 4: Making sure you can't access the sync server
If everything worked until now, you will have the sync server running BUT the firewall should prevent you from accessing it. To confirm this is the case, try to curl the IP and port. You should get some kind of timeout or connection refused error. If you get a 404, that means the sync server responded and that your firewall is misconfigured!
Here's what you should be seeing:
➜  ~ curl -i http://MY_SERVER_IP:8080
curl: (28) Failed to connect to MY_SERVER_IP port 8080 after 75002 ms: Couldn't connect to server
Step 5: Setting up Tailscale
Tailscale is straightforward to install. You'll need to set it up on every device that will need to connect to the sync server and on the server itself. Tailscale has a good guide to get started if you need help.
Once finished, your server will be assigned an internal Tailscale IP using the format 100.x.x.x. This IP can only be reached when connected to your Tailscale account, and any traffic is fully encrypted. This means our firewall configuration will continue blocking everyone else, but using this new IP, we can connect to our sync server.
Before proceeding with the next step, confirm you can now connect:
➜  ~ curl -i http://100.MY.TAILSCALE.IP:8080
HTTP/1.1 404 Not Found
content-length: 0
date: Wed, 24 Sep 2025 08:23:44 GMT
We got a proper 404 from the server! Let's move on.
Step 6: Configuring Anki
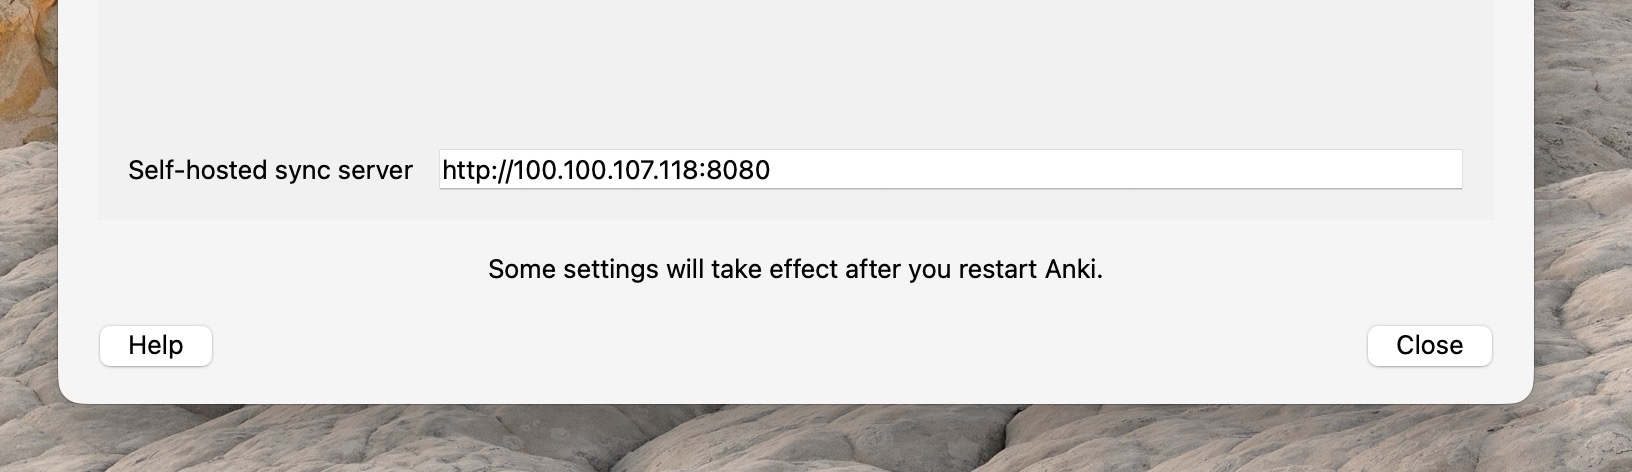
It's now time to set things up in Anki. In the settings, provide the sync server IP and port. Make sure to use HTTP instead of HTTPS as we haven't set it up. For example:
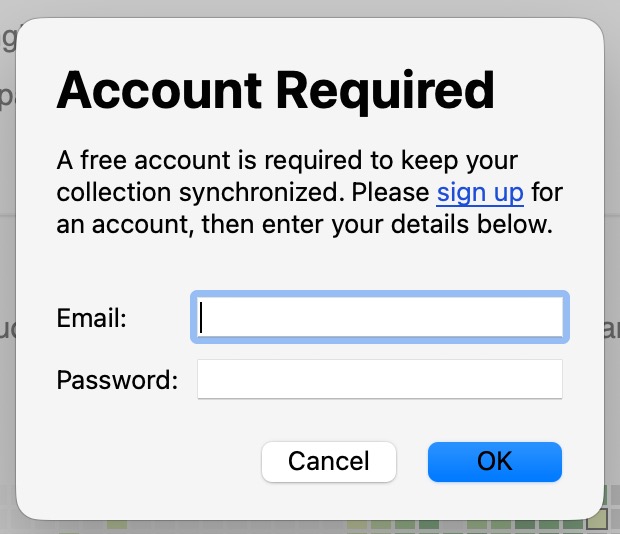
Once set up, you will be asked to provide the username and password when you try to sync.
And we're done! Your Anki collection and media are now synced to your own server.
Just keep in mind that Anki is actively being worked on. So if you update the software on your devices (which happens automatically on smartphones), you'll need to update the sync server as well, which means:
Importing the latest commits to your fork
Waiting for the latest Docker image to be built
Pulling the new image on your server and restarting the sync server


Comments